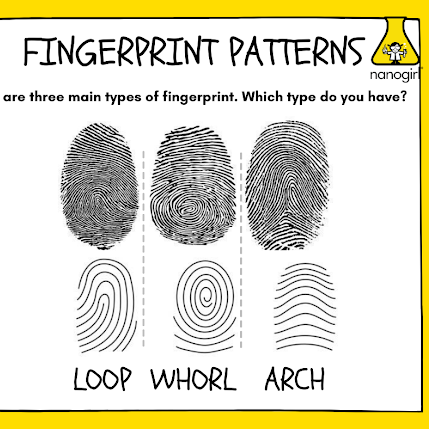
Giant Fingerprints
- Balloon
- Ink pad
Instructions:
- Stretch your balloon several times so it is easy to blowup.
- Lay the balloon on the table and flatten an area big enough to fit a fingerprint making sure there are no creases in the balloon.
- Press your finger into the ink.
- Now press your inked finger onto the balloon.
- Gently roll your finger to capture your entire fingerprint.
- Blow up the balloon and tie it off.
- Enjoy inspecting your Giant Fingerprint.
- By enlarging a fingerprint on the balloon, participants can observe distinct patterns like arches, loops, and whorls. These patterns are unique to every person, making fingerprints a powerful tool for identifying people in criminal investigations.
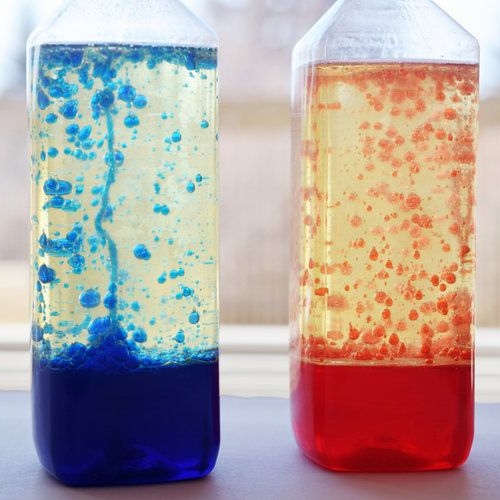
Lava Lamp Bottle
- Clear plastic bottle with cap
- Water
- Vegetable oil
- Food coloring
- Effervescent tablets (like Alka-Seltzer)
Instructions:
Fill the bottle about 1/4 full with water.
Add a few drops of food coloring to the water.
Fill almost the rest of the bottle with vegetable oil and watch the oil/water separate.
Break an effervescent tablet into 4 pieces.
Drop one piece into the bottle and watch what happens.
Add more pieces one at a time to keep the reaction going.
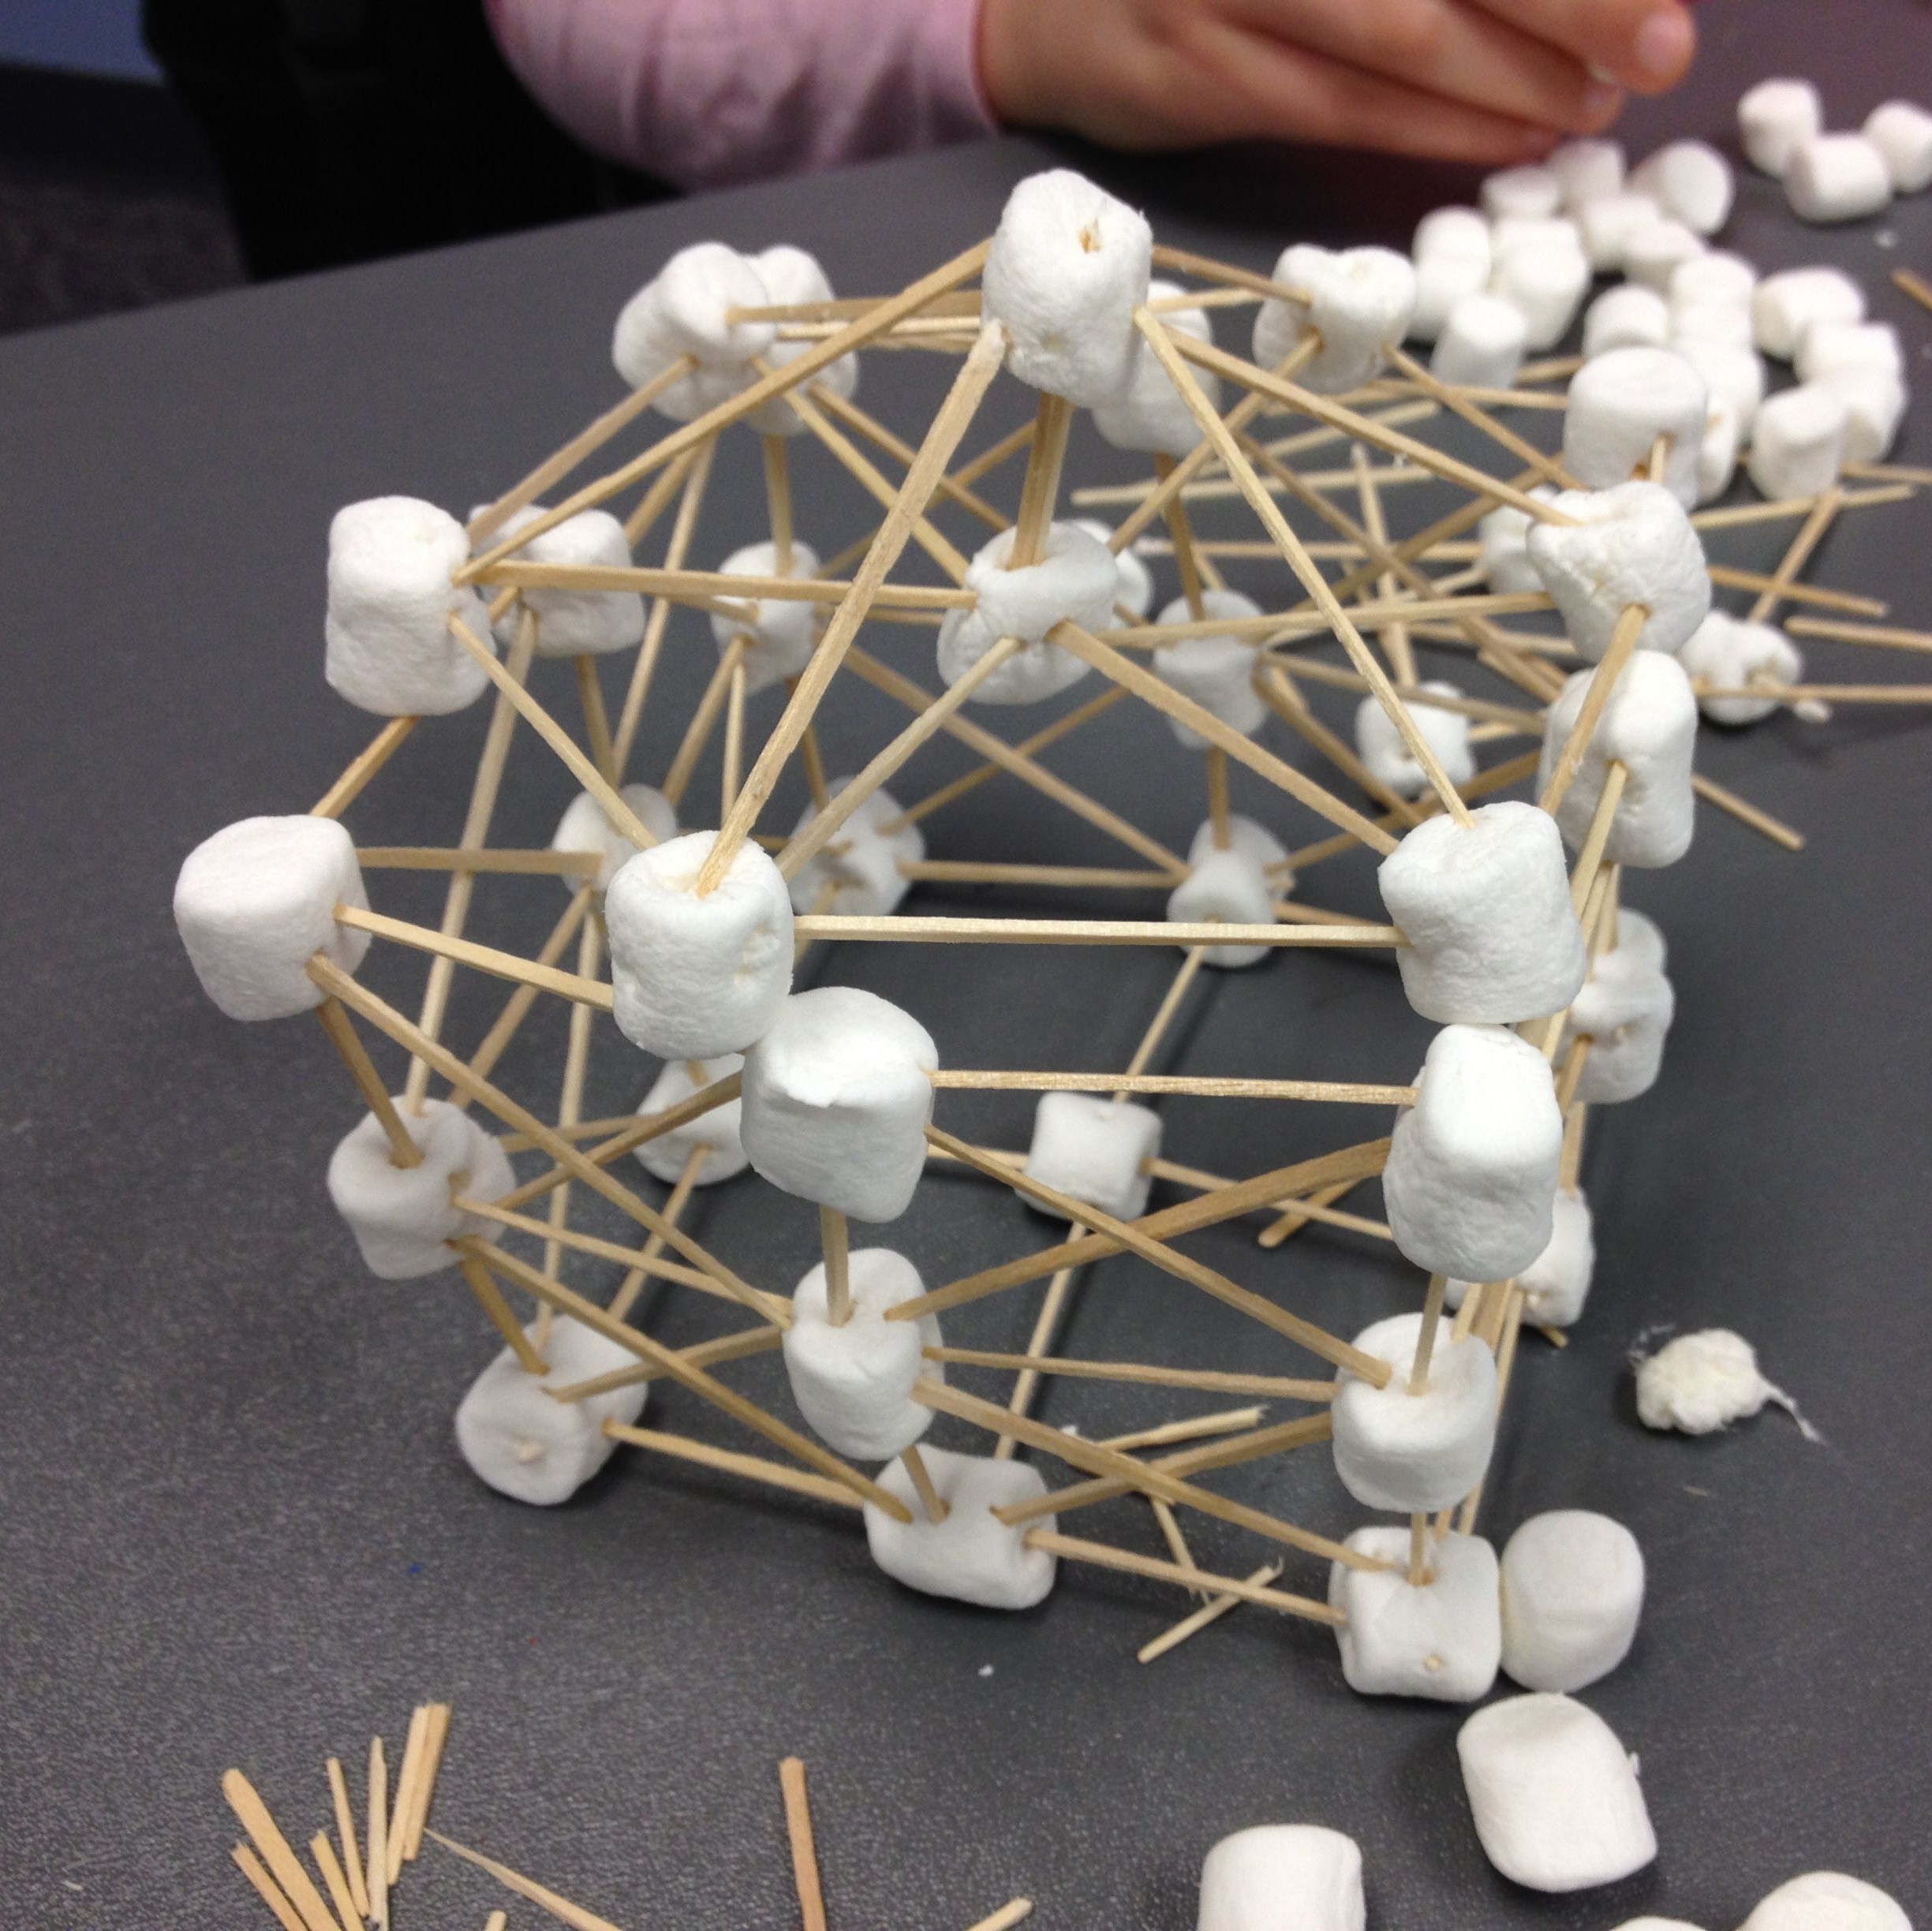
Marshmalllow Spaghetti Structures
- Uncooked spaghetti (20–30 pieces)
- Mini marshmallows (20–30 pieces)
- Scissors (optional, for breaking spaghetti)
- Ruler (optional, for measuring tower height)
- Tape measure (optional, for final height assessment)
Plan Your Design Before building, sketch a blueprint of your tower. Consider using triangles for stability. Decide how to balance height and strength using the available materials. Create a Base Use marshmallows as connectors and spaghetti as beams. Construct a strong, wide base to support the structure. A square or triangular base works best. Build Upward Add vertical supports by connecting spaghetti to the base using marshmallows. Reinforce joints with extra marshmallows to prevent weak points. Use diagonal bracing to improve stability. Maximize Height While Maintaining Stability As the tower gets taller, check if it leans or collapses. If unstable, add additional supports or modify the structure. The team with the tallest structure wins! Final Touch: Add a Marshmallow on Top Carefully place a single marshmallow at the highest point. Measure the final height of the tower. Test and Improve If the tower collapses, analyze weak points and redesign as needed. Work as a team to fix the design!
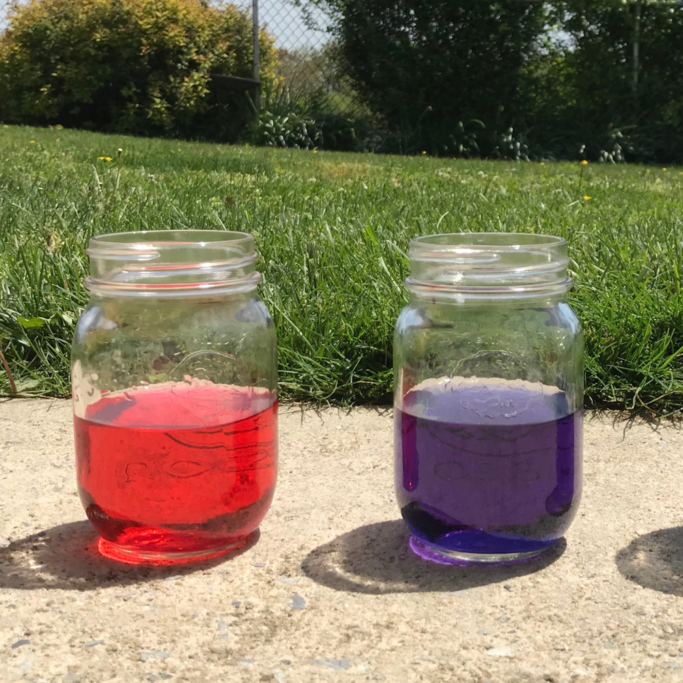
Science of Cabbage Juice
- Small red cabbage
- Knife for chopping cabbage
- Pot for boiling water
- Strainer
- Glass jar with lid
- Ice cube tray (optional)
Chop the red cabbage into small pieces using a knife. Be sure to provide adult supervision if children are doing the chopping. Place the chopped cabbage in a pot and cover the cabbage with water. Heat the cabbage and water mixture until the water boils, stirring occasionally. Once boiling, remove the pot from the heat source and allow the cabbage water mixture to cool for 30 minutes. After the cabbage water mixture has cooled, strain the solid cabbage from the liquid. The remaining liquid should be a deep purple color. Pour the cabbage juice into a glass container, seal it, and store it in the refrigerator until ready to use. Alternatively, pour the cabbage juice into ice cube trays and freeze. (will prep cabbage juice before STEM Night)
Lemon Soda
- 2 plastic cups
- Water
- Lemonade powder
- Lemon juice
- ⅛ tsp baking soda
- Spoon
- Measuring cups and spoons
- Knife
Instructions:
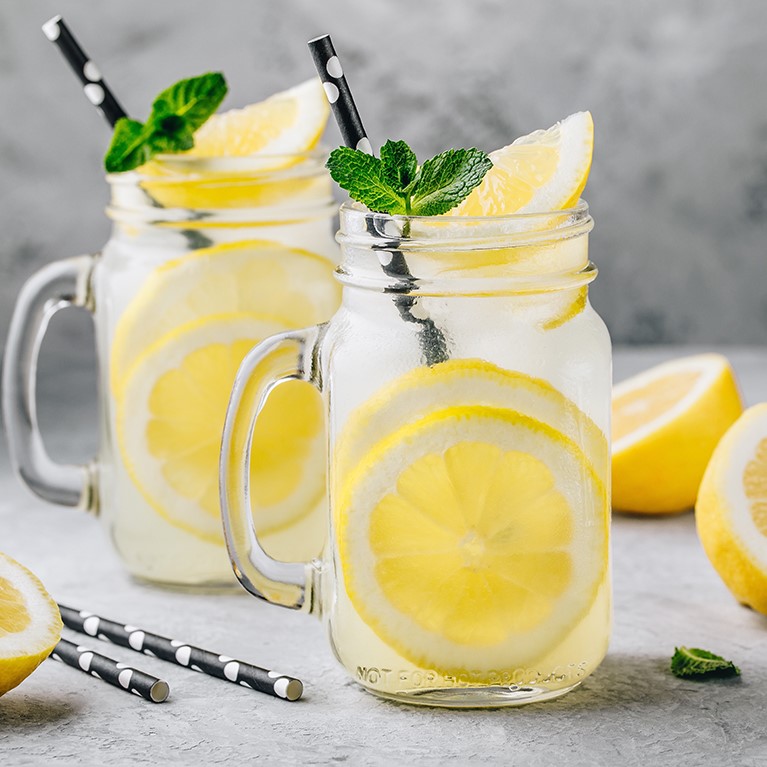
In one cup, mix together 1 cup of water with 1 spoon of lemonade powder.
Cut the lemon into 8ths.
Add around a teaspoon of lemon juice to the lemonade.
Add ⅛ tsp baking soda (half of ¼ teaspoon) and mix.
Taste your lemon soda!
Explanation:
Just like in the lemon volcano demo, an acid-base reaction occurs and the citric acid from the lemon juice and the basic baking soda work together to create a gas (the same gas, in fact, as in carbon dioxide!). Because this reaction takes place in the juice, some of this carbon dioxide gets trapped within the liquid. This is what makes the soda taste fizzy. You may notice that your drink tastes a bit salty; this is because baking soda has sodium in it – does anybody know what sodium chloride is? It’s table salt.
Blow Up a Balloon With Yeast
Note: It will take some time to inflate the balloon. Have the kids come back later.
Materials
- A packet of yeast (available in the grocery store)
- A small, clean, clear, plastic soda bottle (16 oz. or smaller)
- 1 teaspoon of sugar
- Some warm water (MUST BE WARM)
- A small balloon
- Electric kettle
Instructions:
Fill the bottle up with about one inch of warm water. (When yeast is cold or dry the micro organisms are resting.)
Add all of the yeast packet and gently swirl the bottle a few seconds. (As the yeast dissolves, it becomes active – it comes to life! Don’t bother looking for movement, yeast is a microscopic fungus organism.)
Add the sugar and swirl it around some more. Like people, yeast needs energy (food) to be active, so we will give it sugar. Now the yeast is “eating!”
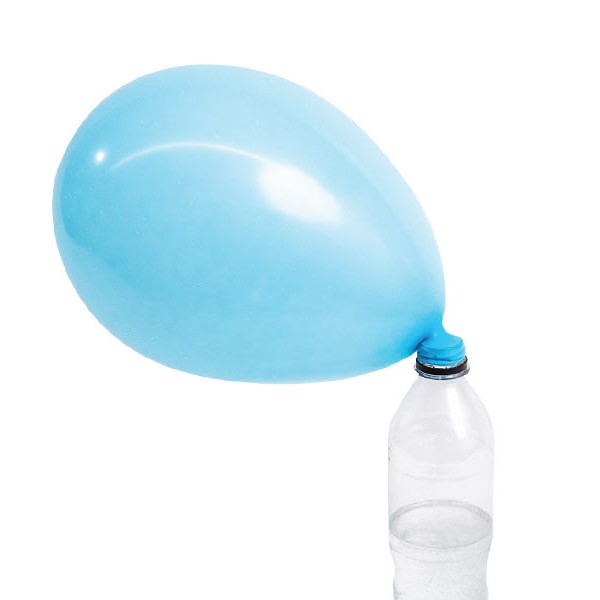
Blow up the balloon a few times to stretch it out then place the neck of the balloon over the neck of the bottle.
Let the bottle sit in a warm place for about 20 minutes
If all goes well the balloon will begin to inflate!
Explanation:
As the yeast eats the sugar, it releases a gas called carbon dioxide as a waste product. The gas fills the bottle and then fills the balloon as more gas is created. We all know that there are “holes” in bread, but how are they made? The answer sounds a little like the plot of a horror movie. Most breads are made using YEAST. Believe it or not, yeast is actually living microorganisms! When bread is made, the yeast becomes spread out in flour. Each bit of yeast makes tiny gas bubbles and that puts millions of bubbles (holes) in our bread before it gets baked. Naturalist’s note – The yeast used in this experiment are the related species and strains of Saccharomyces cervisiae. (I’m sure you were wondering about that.) Anyway, when the bread gets baked in the oven, the yeast dies and leaves all those bubbles (holes) in the bread. Yum.
Whirlybirds
Notes: The kids need to throw the whirlybirds VERY high into the air – encourage them to throw it as hard as possible. You can also keep the wings folded down and throw it up. It will still fly. If you can access the second/third story of a building it’s fun to drop the whirlybirds from there and watch them spin to the ground.
Materials:
- Paper clips
- Paper with template: https://www.sciencebuddies.org/Files/15270/9/whirlybird-template-new.pdf
- Regular paper
- Scissors
Instructions
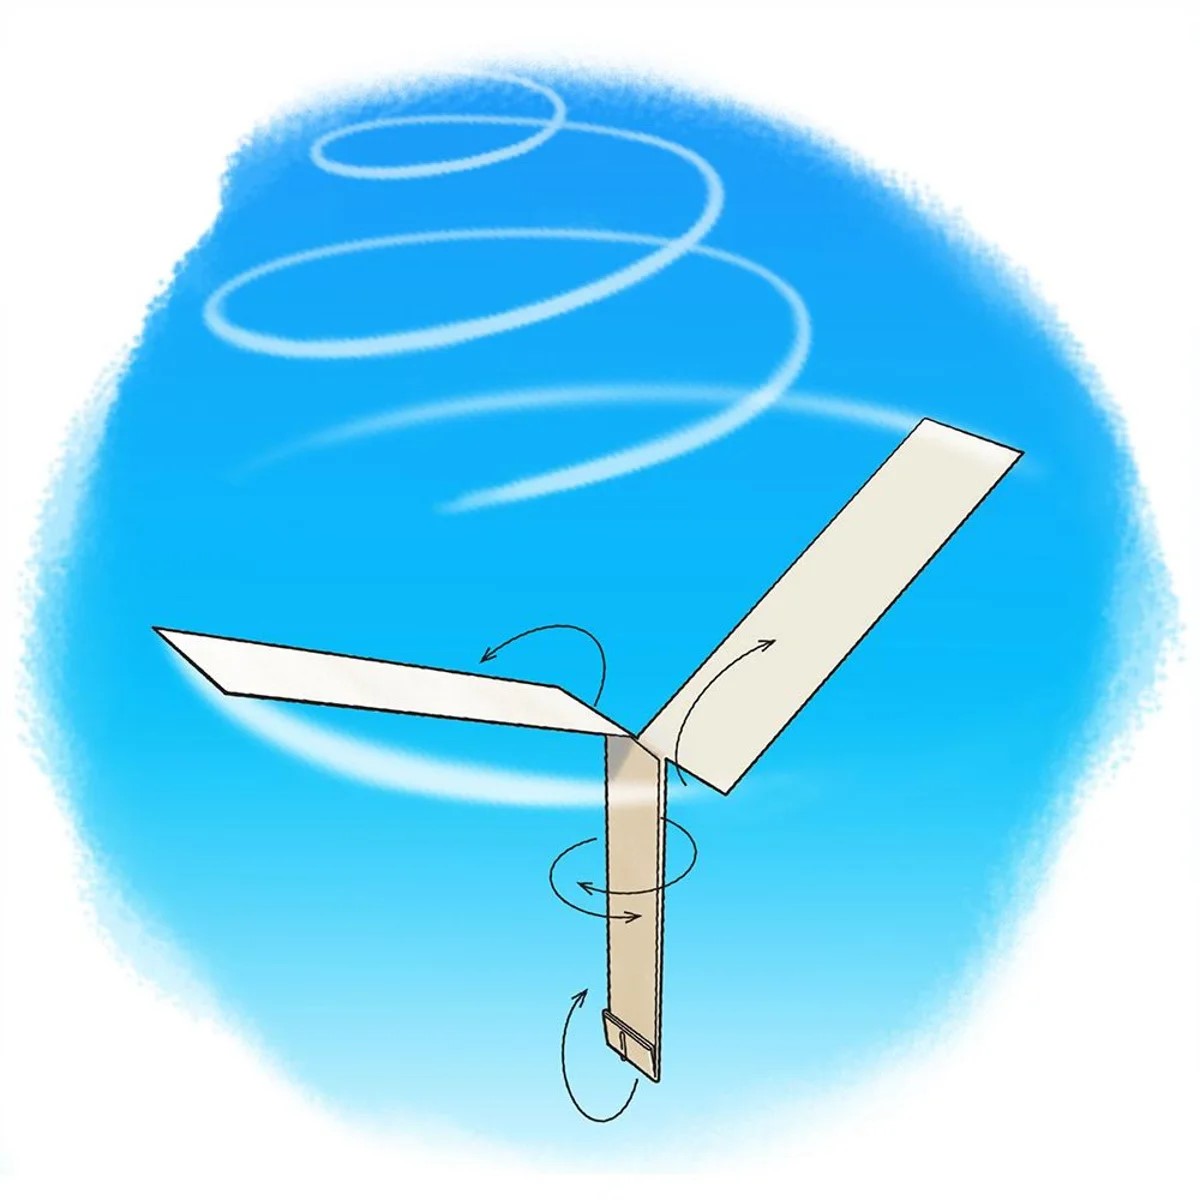
Cut out and fold the whirlybird according to the template.
First toss the whirlybird up without anything weighing it down.
Then add a paper clip to the bottom – notice the difference?
Experiment with different paper clip weights, lengths/widths of the propeller wings, etc. Have a little competition to see who can make the best design that flies the longest!
Explanation:
Helicopters stay in the air using spinning blades that are used to generate an upwards push called "lift." With enough of it, a craft can overcome the force of gravity, which pulls the object down toward Earth. Aircrafts such as helicopters with spinning blades are called rotary wing, unlike traditional airplanes, which are fixed wing.
How do helicopters fly? (cont)
Helicopters’ rotors push air down, creating a difference in air pressure that creates lift. The faster the rotors spin, the greater the difference in air pressure. The greater the difference in air pressure, the more the lift, and the higher the helicopter can fly.
How do our whirlybirds work?
Just like a helicopter, our whirlybirds rely on lift. This lift is generated from the difference in pressure between the air below the rotors of the helicopter and the air above the helicopter rotors. Our whirlybirds don’t have enough lift to overcome gravity. However, they do have enough lift to slow their descent towards the ground.
Oobleck
Description: In this activity, students will learn about non-Newtonian fluids and viscosity.
Materials:
- Cornstarch
- Water
- Cup
- Spoon
Directions
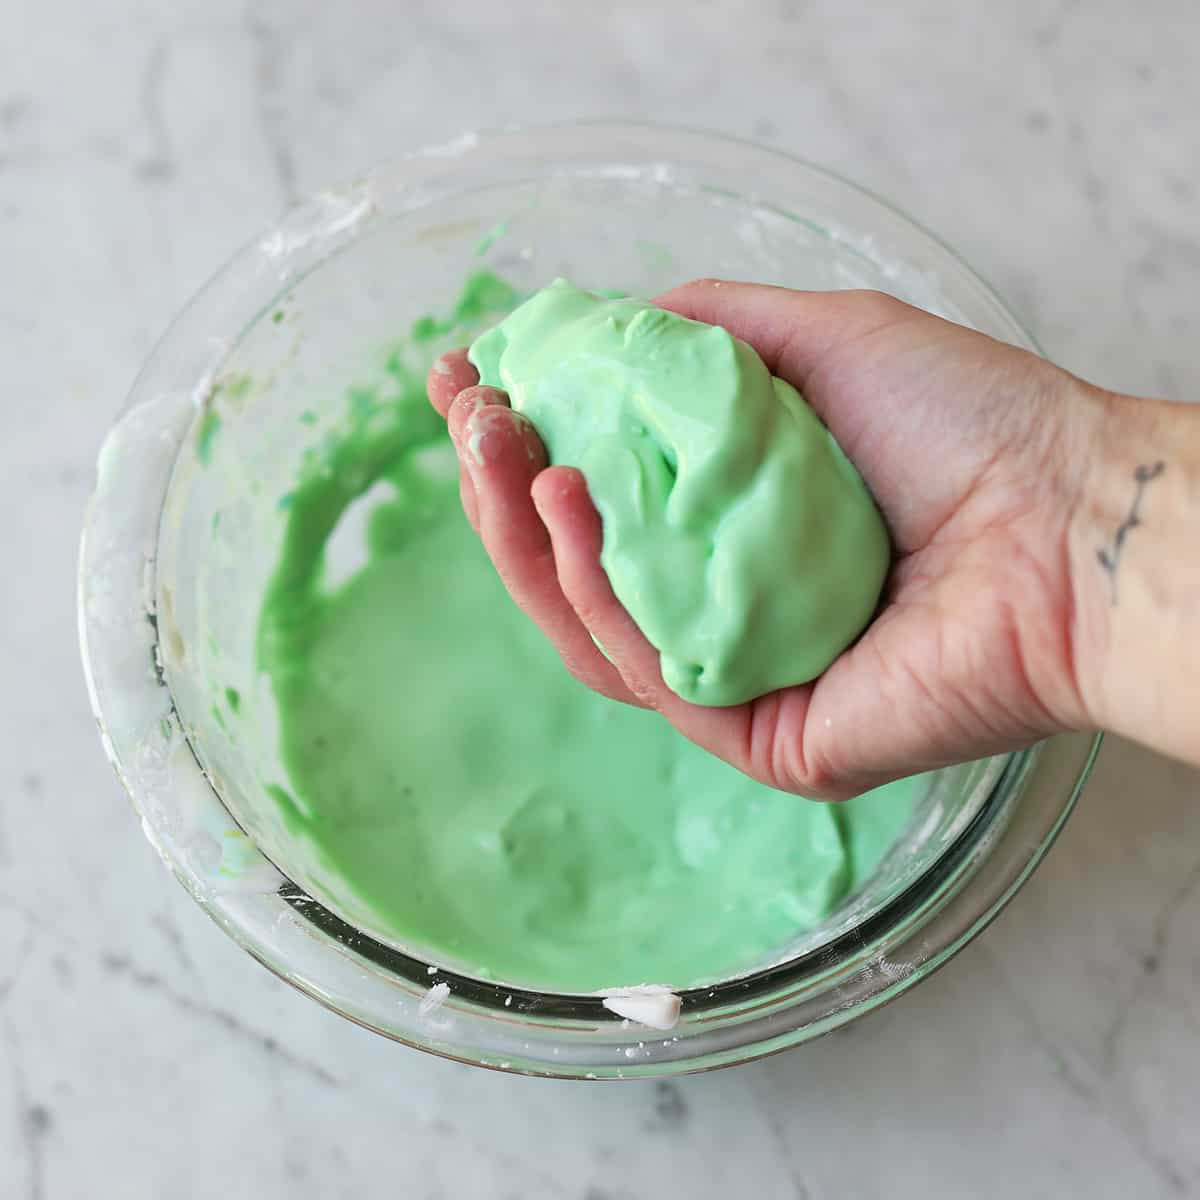
Pour about one cup of cornstarch into the mixing bowl, and dip your hands into it.
Pour the water in, mixing slowly as you go. Keep adding more water until the mixture becomes thick (and hardens when you tap on it). Add more cornstarch if it gets too runny, and more water if it becomes too thick.
Drop your hands quickly into the Oobleck - take note of what happens slowly lower your hands into it. Notice the difference!
Hold a handful in your open palm—what happens?
Try squeezing it in your fist or rolling it between your hands—how does it behave differently?
Move your fingers through the mixture slowly, then try moving them faster.
Explanation:
Oobleck can mimic the qualities of a solid or liquid. These materials are called Non-newtonian fluids. While a Newtonian fluid has a constant viscosity (example: water has a constant viscosity), the viscosity of Non-newtonian fluids changes. You can think of viscosity as fluidity, or how thick a fluid is. For example, syrup has a high viscosity while water has a lower viscosity.
Can you think of more examples of high viscosity fluids? What about low viscosity fluids?
Back to oobleck. The viscosity of oobleck changes depending on the force exerted on it over time. Strong forces exerted over little time cause the oobleck to have a high viscosity. This is because the cornstarch particles are being governed by the forces of friction, which make it hard for them to move against each other. This in turn increases the viscosity. However, when weaker forces are exerted on the oobleck, it acts more like a liquid.
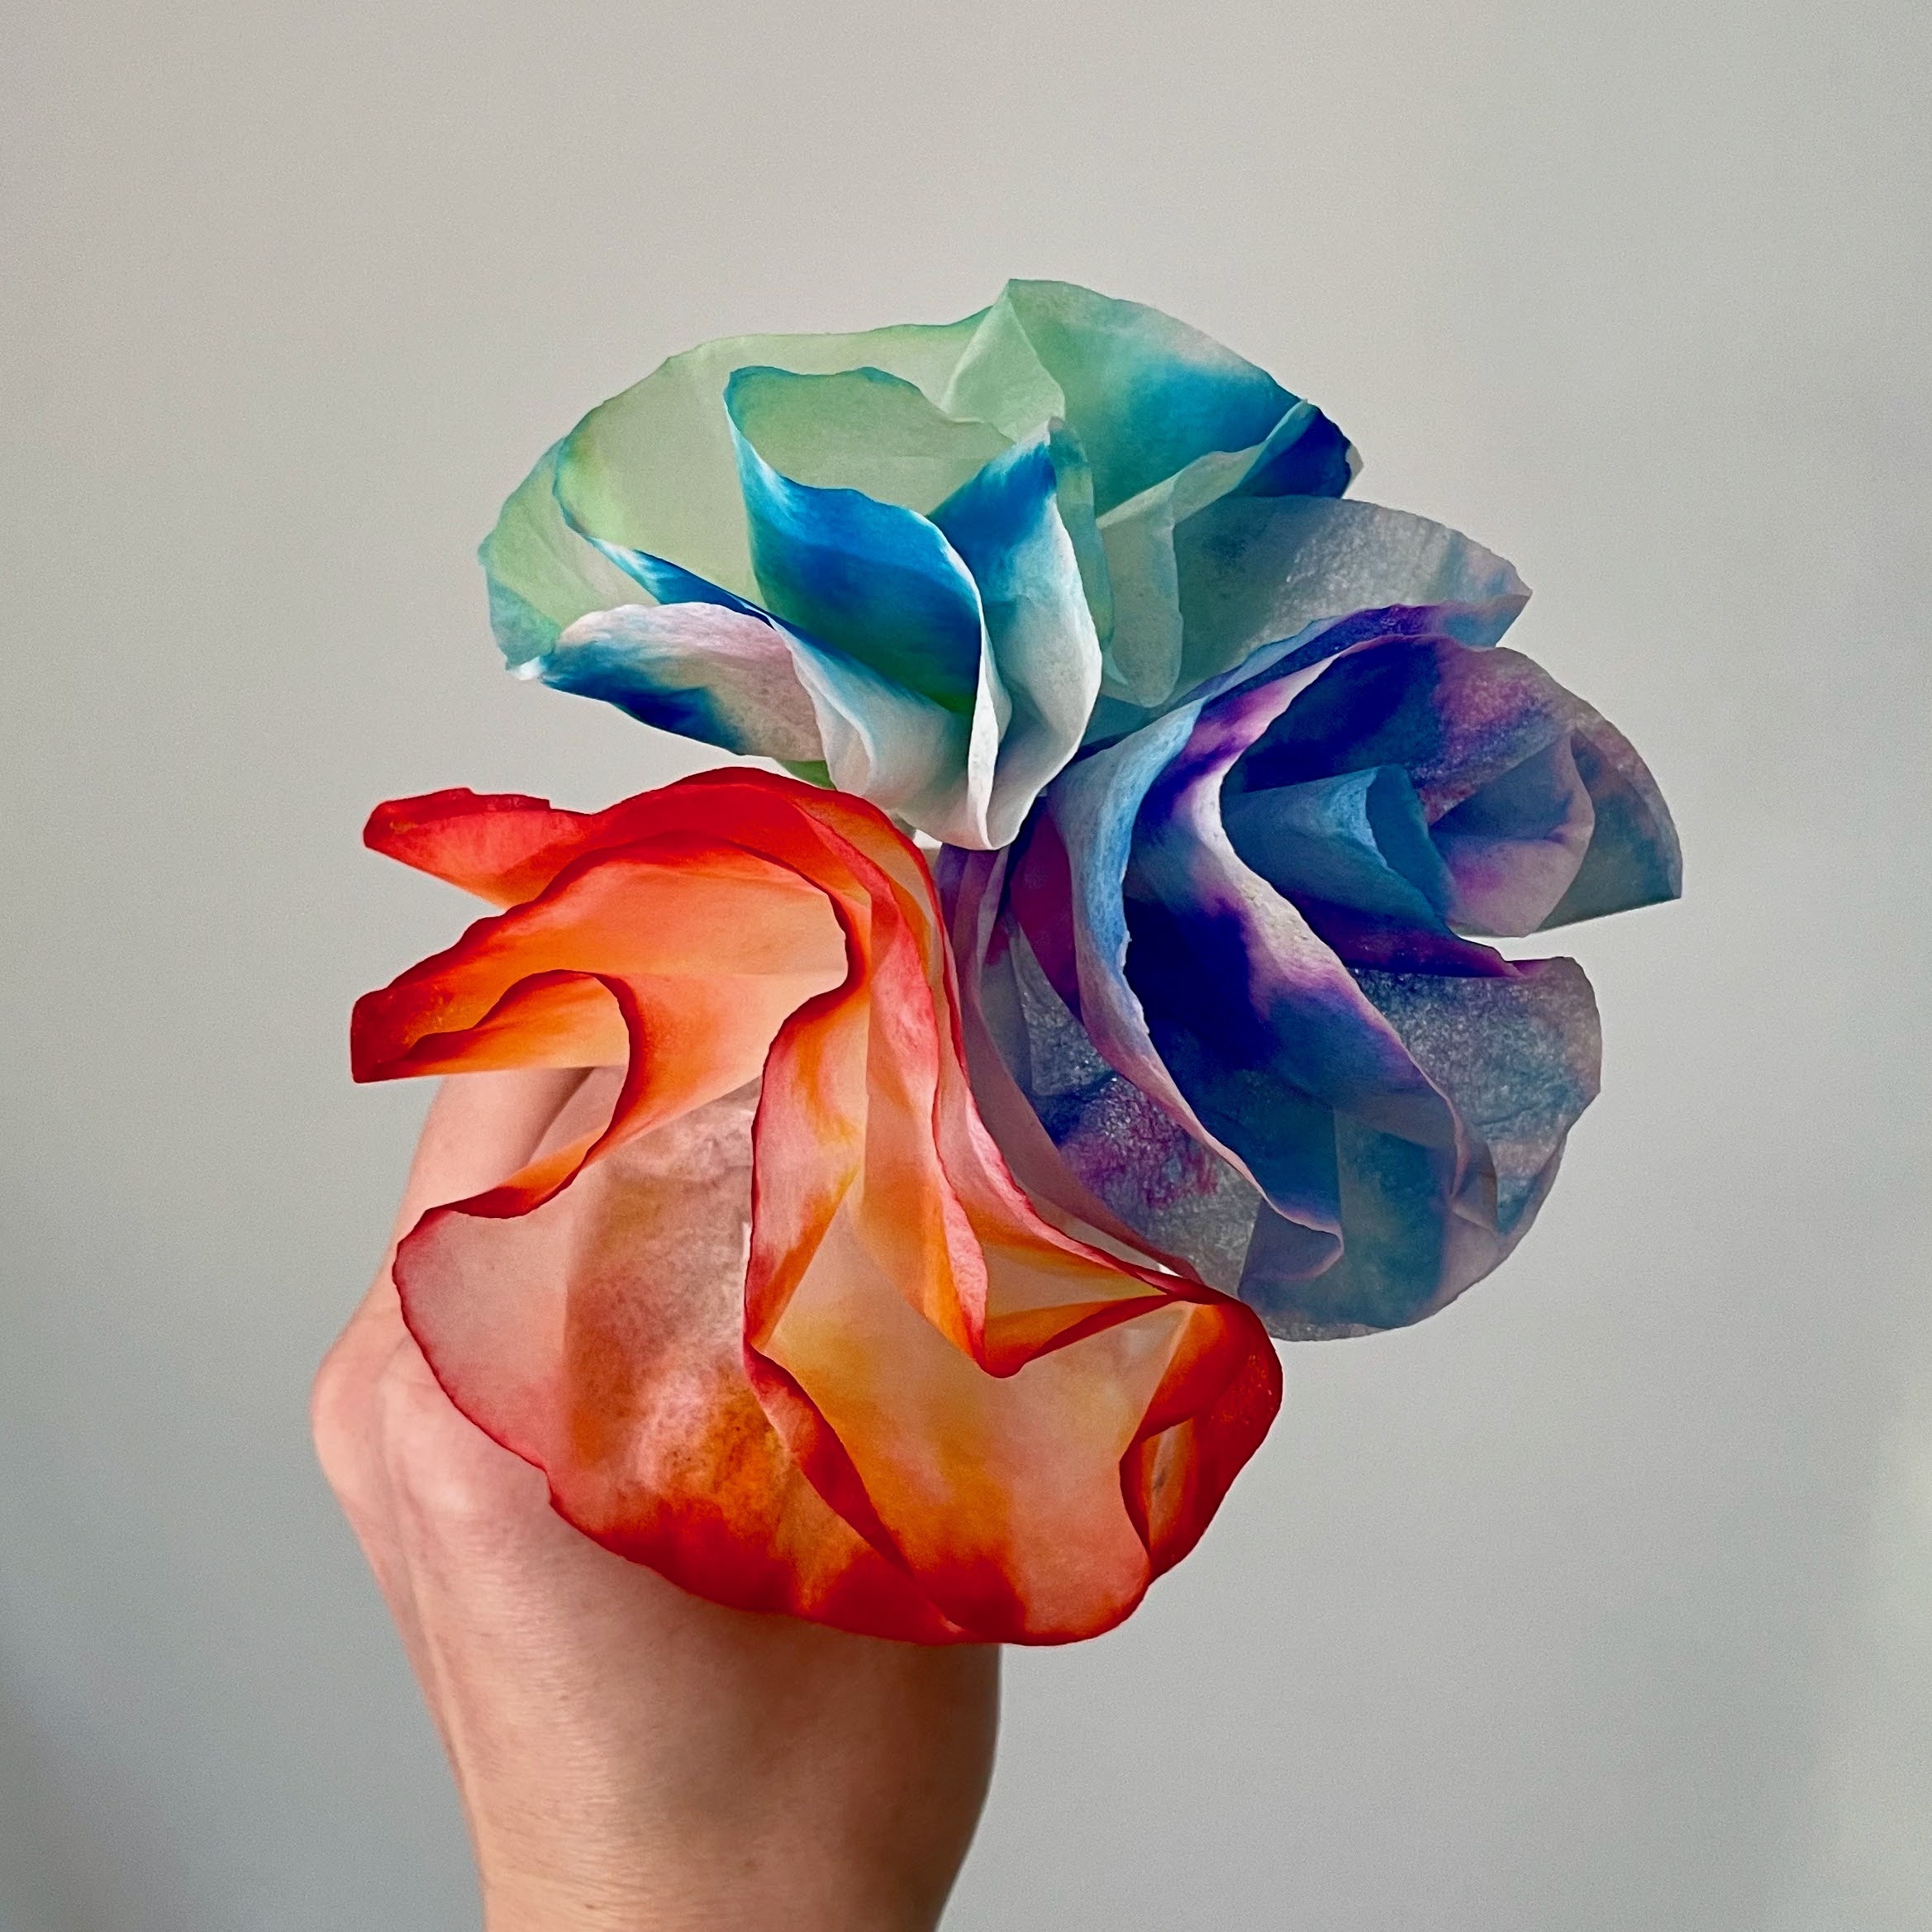
Chromatography Flowers
Description: In this activity, students will learn about chromatography and how it is used to separate mixtures of substances into their components based on small differences in solubility of different molecules.
Materials:
- White Coffee Filters
- Pencils OR Pens
- Scissors
- Water Based Markers
- Tape
- Cup
- Water
- Towels OR Paper Towels
Directions:
Open the coffee filter and make a design as desired with markers. Make sure the marker ink bleeds through the coffee filter.
Fill the Cup With Just Enough Water to Submerge the Bottom Center of the Filter.
Place the Decorated Filter Into the Cup With the Middle Touching the Water.
Watch the Water Move Upwards. Wait for around 5 minutes.
Take your chromatography flower out of the cup and let it dry.
Fold the filter into fourths and cut off the top to make a petal design.
Explanation:
Chromatography is used to separate mixtures of substances into their components based on small differences in solubility of different molecules. Molecules that are the most soluble will move the furthest and the least soluble will travel the shortest and are measured in retention time. The water itself is able to move up the paper due to the properties of water creating capillary action.
Determining the components of a mixture are important because it allows scientists to know what is in a mixture and how to recreate it (such as in medicine if a new mixture is found in nature) or how to alter it (such as if a mixture is toxic to people, chromatography can help determine what is making it toxic).
